THE FIGURE
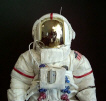
I started with the "Buck" Apollo Astronaut figure
from Dragon Models. They have
done a fine job of representing the look of the real thing, but there is always
more you can do...
CUSTOMIZING
I looked at several actual
photos to decide how I wanted my figure to look. Since it will not be any
particular astronaut, I can be creative. Many of the photos and diagrams I
found useful can by seen here. To see an artist's rendition of the Apollo
suit, click
here.
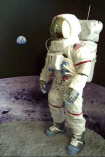
I scratch-built the microphones and added an antenna to the
OPS (photo #2). I painted the hose connectors that attach to the suit, and
kit-bashed one to look like the purge valve with the "red apple", then I
made my own waist belt, buckle, and snaps (#3). I added controls to the
chest pack and ran a hose from there to the OPS (#4). I added the red
stripes to the suit showing this is a mission commander.
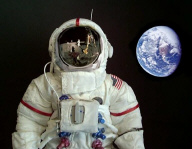
I took the pictures
in front of a flat black background and added a cut-out of the
earth.
GETTING CREATIVE
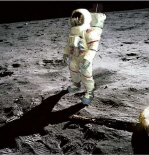
The three
photos below were done by combining photos of my customized figure with actual
moon landing photos using a computer graphics
program.


